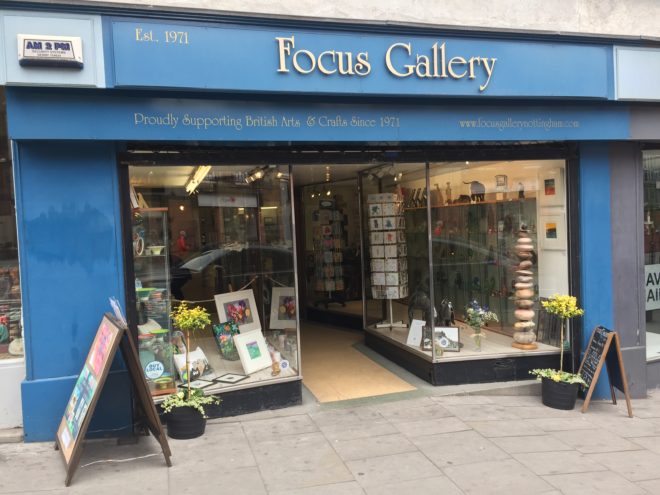
On Tuesday Snizl were excited to be invited along to Focus Gallery for an exclusive pre-launch media event for Nottingham Jewellery School which will officially be launching to the public this Saturday 6th May.
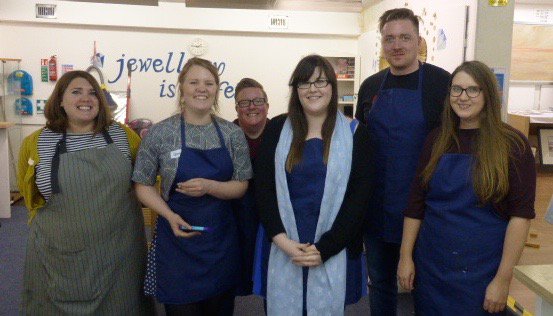
Excited to see what was on offer, John & I went along to learn how to make our very own silver rings in an intimate workshop session led by the wonderfully talented Alys Power & Focus Gallery owner Antonia Disney. Focus Gallery is Nottingham’s longest running, independent art & craft gallery which will now also house the Nottingham Jewellery School downstairs.
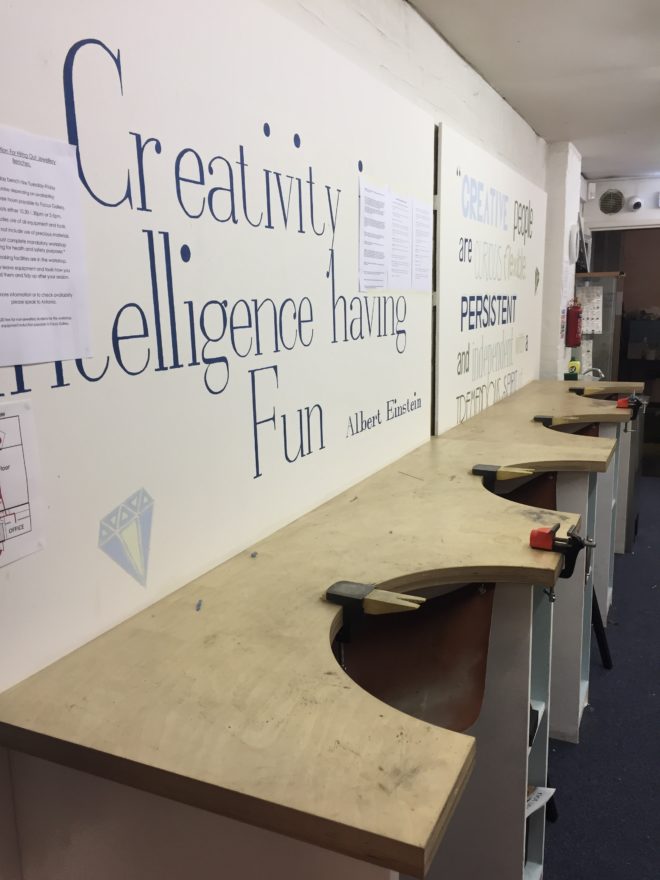
Set to take Nottingham by storm, tutor & expert jeweller Alys Power brings her years of expertise to the classroom…or should I say workshop to teach a range of new skills and jewellery masterclasses to newbies and intermediate levels alike in the newly refurbished workshop space.
Introduction to our Jewellery Class Afternoon
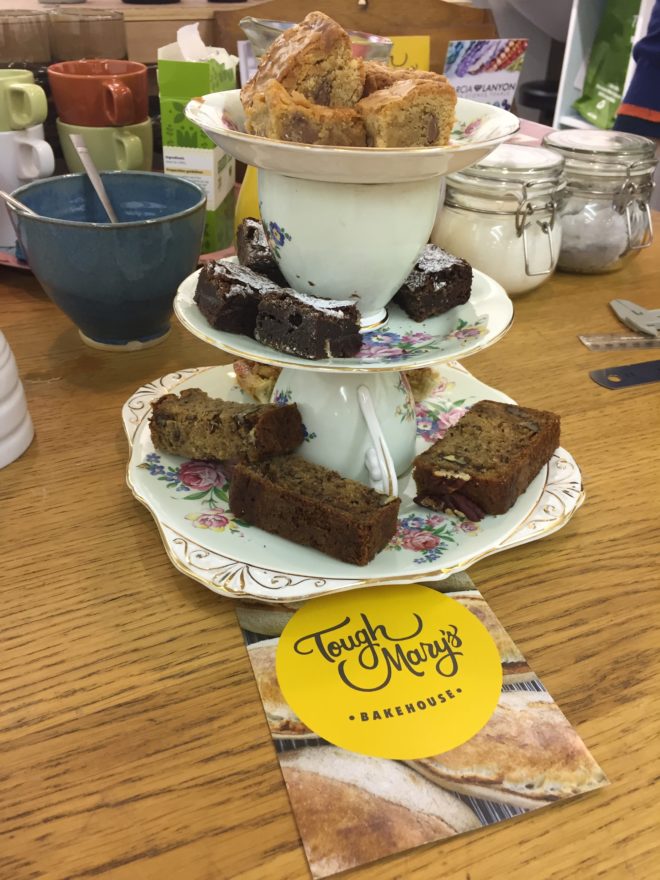
Joining us for the afternoon was the lovely Claire from Hey What’s On Notts, Vlogger Hayley of BunnyMoonStone & Georgie from LeftLion magazine who like us, were all complete novices at jewellery making too! So after introductions, a cup of tea & a selection of tasty treats from Tough Mary’s Bakehouse (the blondies are incredible!) we were all excited to make a start!
During the introduction, the term ‘all of the gear & no idea’ initially came to mind as we were shown the various tools we’d be using. As a self-confessed clumsy person, could I really be trusted with a saw, a blowtorch & various other tools/machinery?
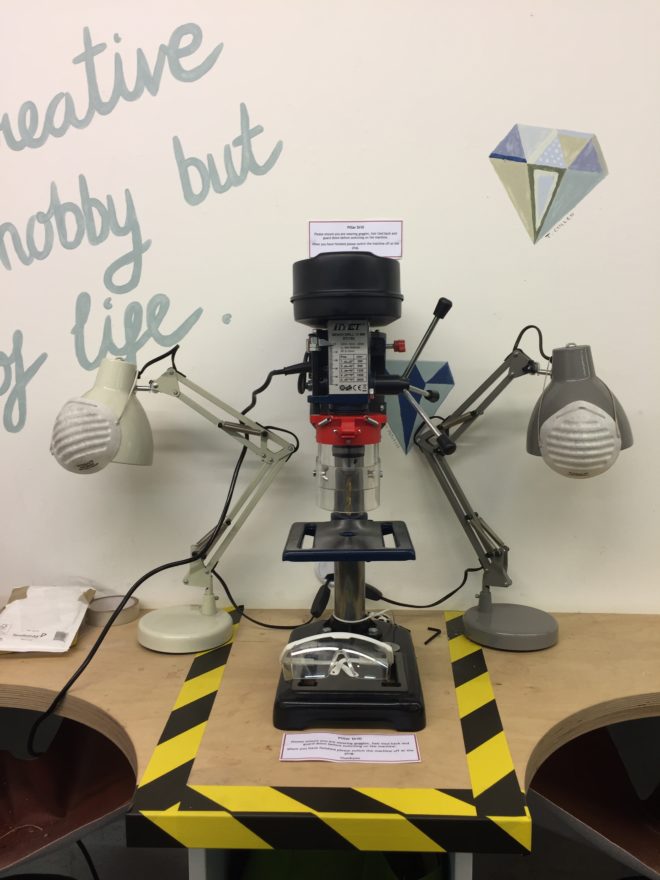
Antonia & Alys instantly put my mind at ease though by explaining and demonstrating each step as we went along. It was actually a really calm, laid back atmosphere during our workshop and was a chance to not only learn more about each stage of the process but also to get to know our hosts & fellow makers throughout the afternoon.
Measuring Out & Sawing Our Wire
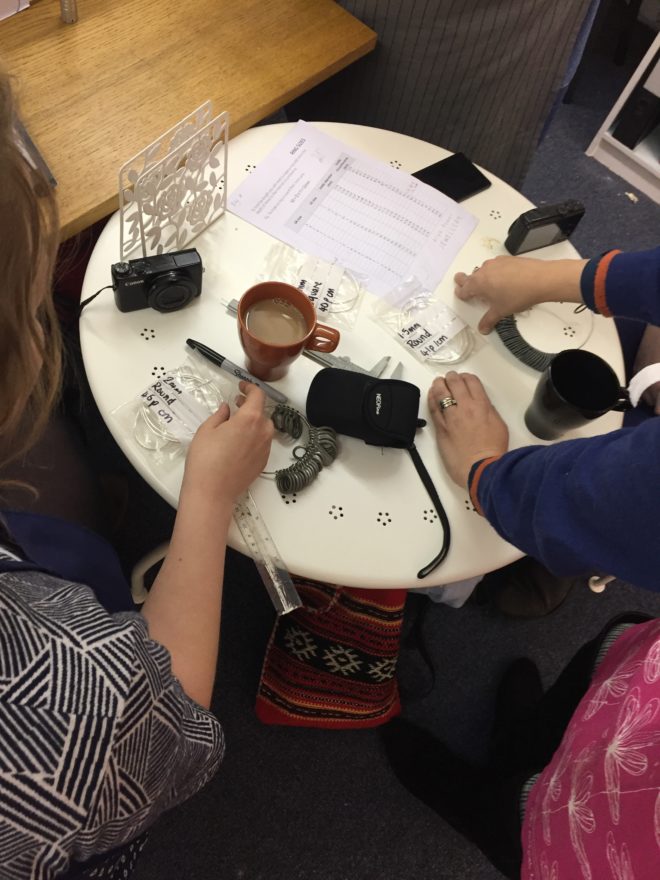
First, we used a ring gauge to measure our finger size & worked out the desired size our rings needed to be. Using a handy chart & some serious concentration faces we then worked out the internal diameter size we’d need.
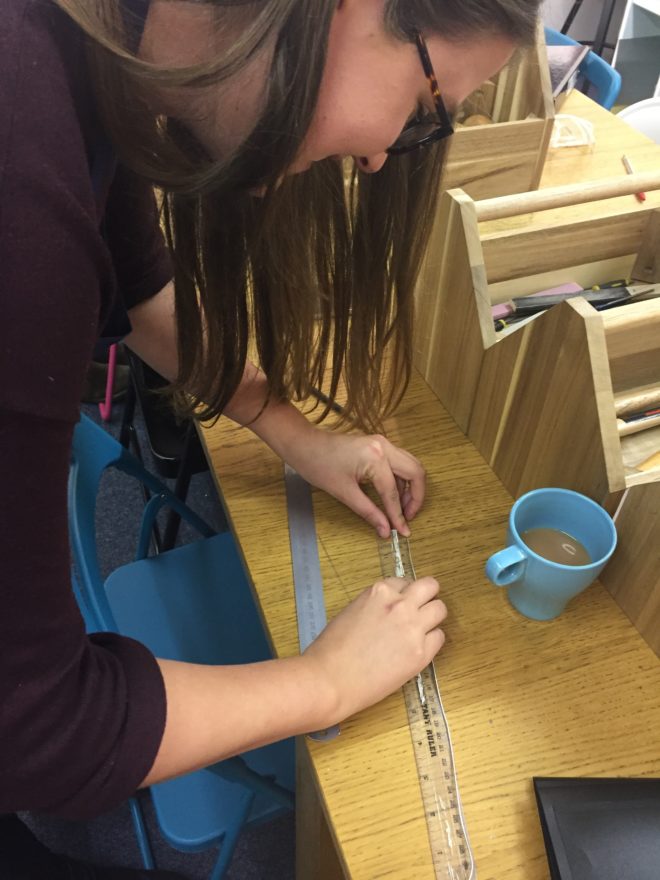
Then laying the wire flat, we measured out the desired length in millimetres (or cm’s if you’re me and misread the sheet, here I am below measuring my wire out in cm’s) before marking with a scribe as a guide for sawing.
(Pro tip: Depending on the desired finished look, if you want to add a lot of texture to your ring then you size down by a mm or two as it will stretch when you hammer & texture the ring later on.)
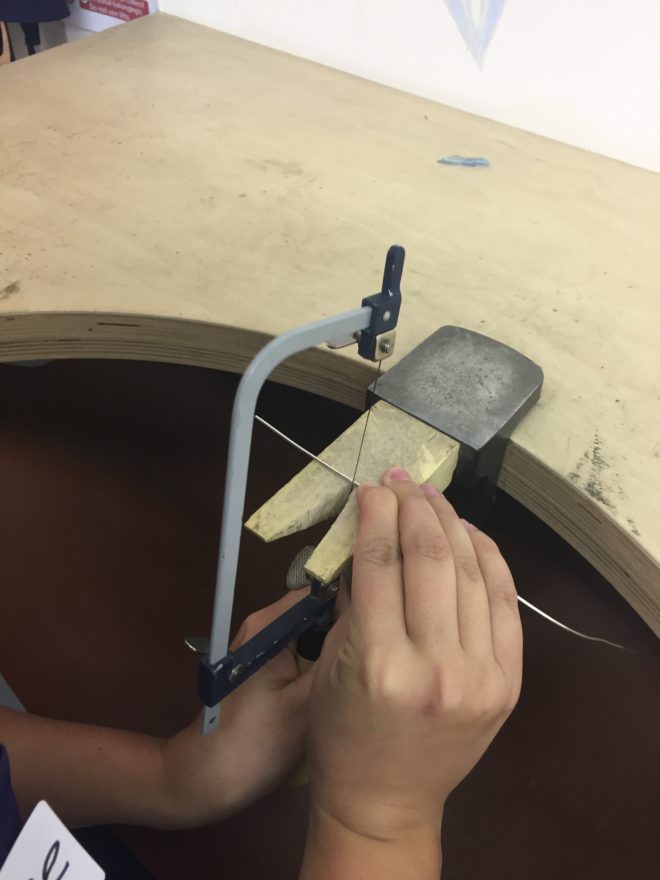
Next, after being let loose with a piercing saw, we carefully cut the wire to the required length. This was slightly daunting as we were instructed to hold the saw upwards to cut a nice, perpendicular line. But fingertips still attached and a straightish line cut – I moved onto the next stage
(Mine was a little wonky so required a little more filing. The straighter the line, the better fit the join will have, apparently.)
Filing & Bending Our Ring Into Shape
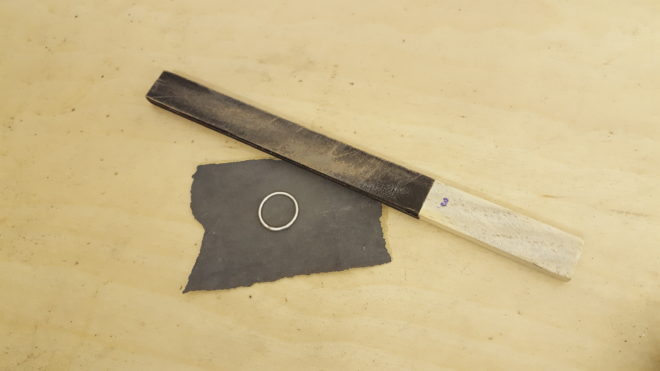
Then, using a flat file we made sure the ends of the wire were squared off/ burrs were removed from the edges before bending the ends of the ring round into a squashed oval or D-shape with pliers ensuring the ends met as neatly as possible.

Flux, Soldering & Pickling Time
Now for the fun part…soldering! So, using a small paintbrush to flux only the sections of the ring we planned to solder, we then dropped a tiny piece of solder on top of the join. Then it was time to be trusted with the blow torch!
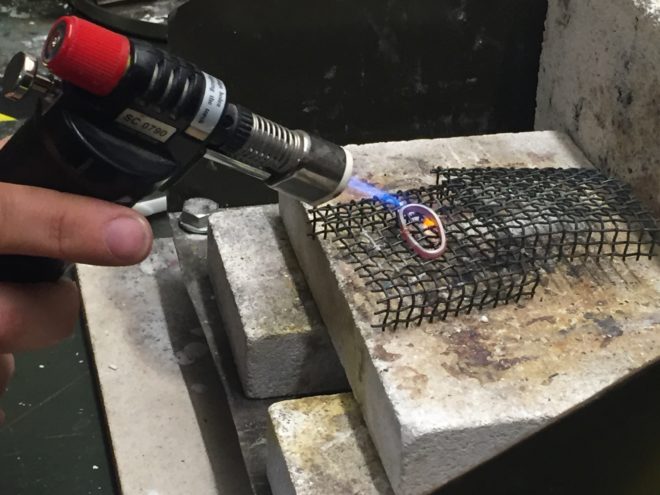
Blowtorch in hand, the metal needed to be slowly heated up before focusing the heat on the ring ends till the solder gave off a tiny little pop of white. Once this was done, I carefully & proudly popped the ring into the pickler and took a moment to reflect on the fact no-one had been injured/ I hadn’t accidentally set fire to my own hair/ clothes/ anyone else. Hurrah!
Grabbing a quick tea break it was a chance to get to know our fellow ring makers and hosts a little more, leaving our rings in the pickler until it was time to rinse them off in fresh water & dry them off (about 10/15 mins.)
Hammer Our Rings Into Shape
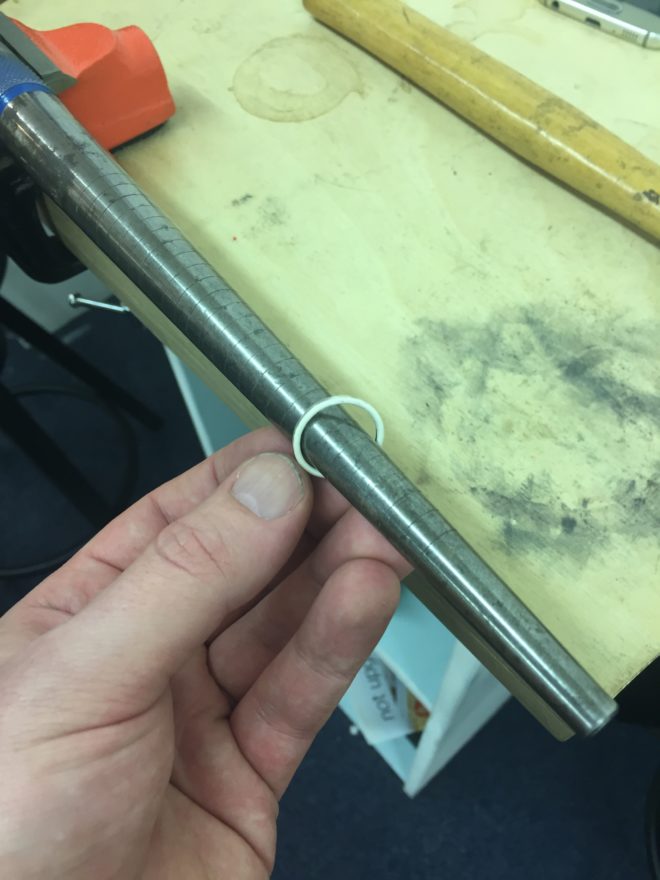
Then it was time to shape our rings, using a ring mandrel we got to release some anger and bash out our rings with hammers – tapping them into more of a circular shape.
Once we’d tapped our rings into shape, it was then time to texture it using a metal hammer to add texture/ markings to the band. Here you could choose between using just one type of hammer, or combine them to get different effects.
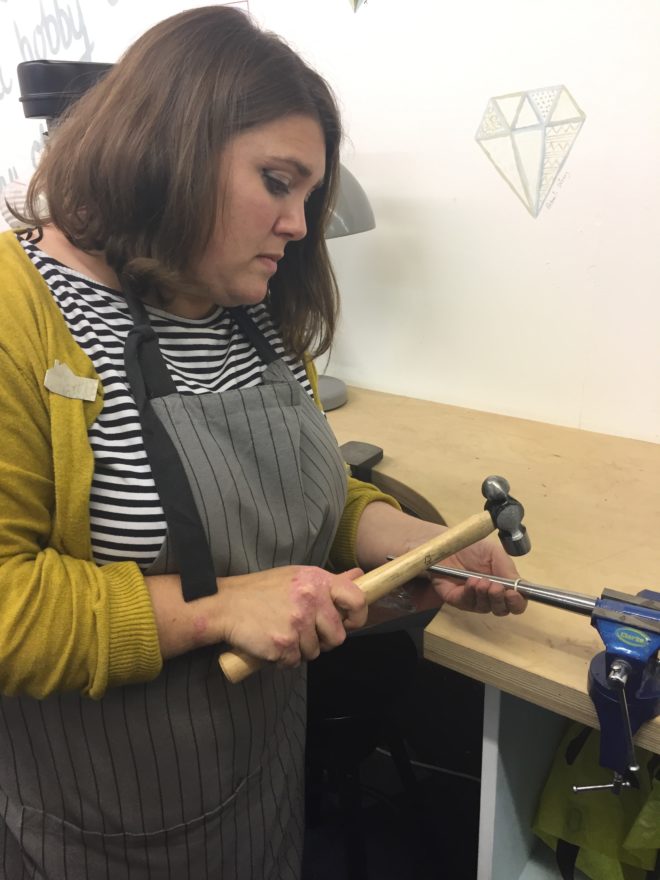
It was easy to get carried away here, bashing at our rings…apparently, if you get a little too hammer crazy the band gets over-sized quite quickly. So we kept checking the size of our rings to make sure they still fit. Here is tutor Alys below, showing us how to do it like a pro.
Filing & Defining The Shape
Next, using a flat file we then removed any excess solder & evened up the join once again after re-shaping/ adding texture to ensure there were no sharp/ rough areas. I opted to keep mine a little uneven, so it was more of a unique shape. It’s down to personal preference at this stage, you can hammer it into a perfect circle or add texture, choosing to keep a few bumps and adding more texture to the surface.
Mine has a little bump in the middle that I initially start to hammer away, but I decided to keep it as I liked its organic shape.
Polishing
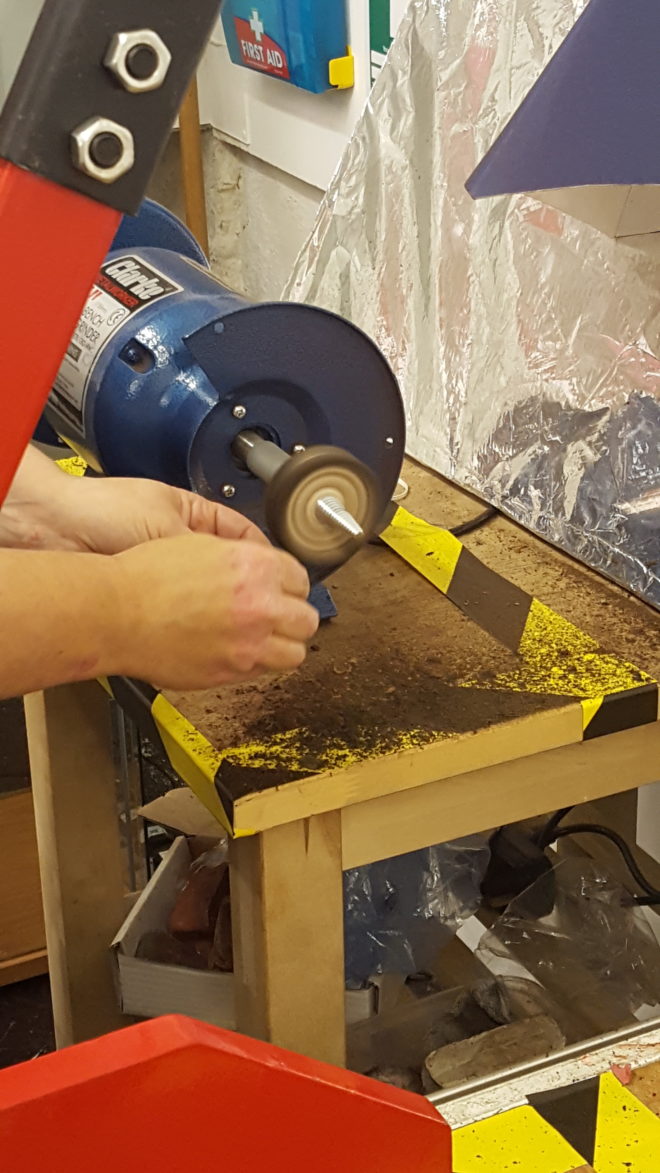
Then using emery paper to lightly remove any sanding marks on the surface we achieved a soft, smooth finish to our rings. Then were starting to resemble proper rings, so to finish, we then just had to decide on the final finish we wanted our rings to have. We all opted to try out the polishing machine, buffing the ring surface to give each ring that shiny, polished look. And after a quick wipe down… they were finished!
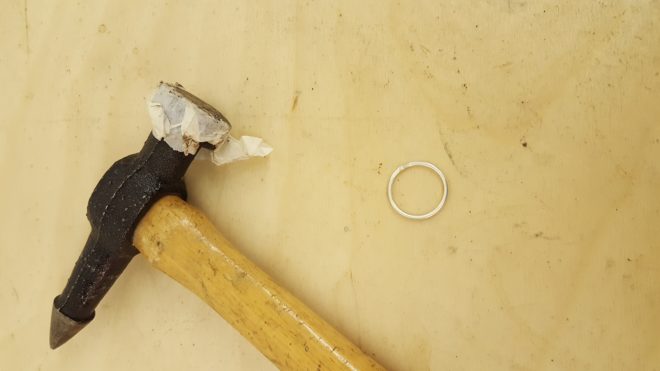
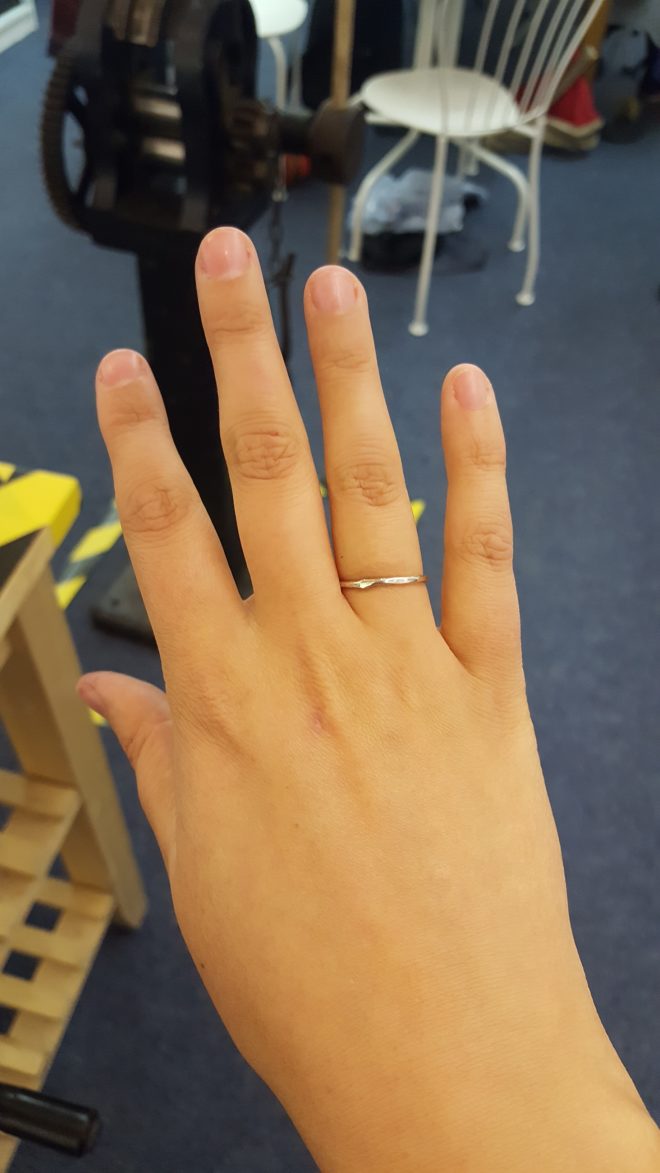
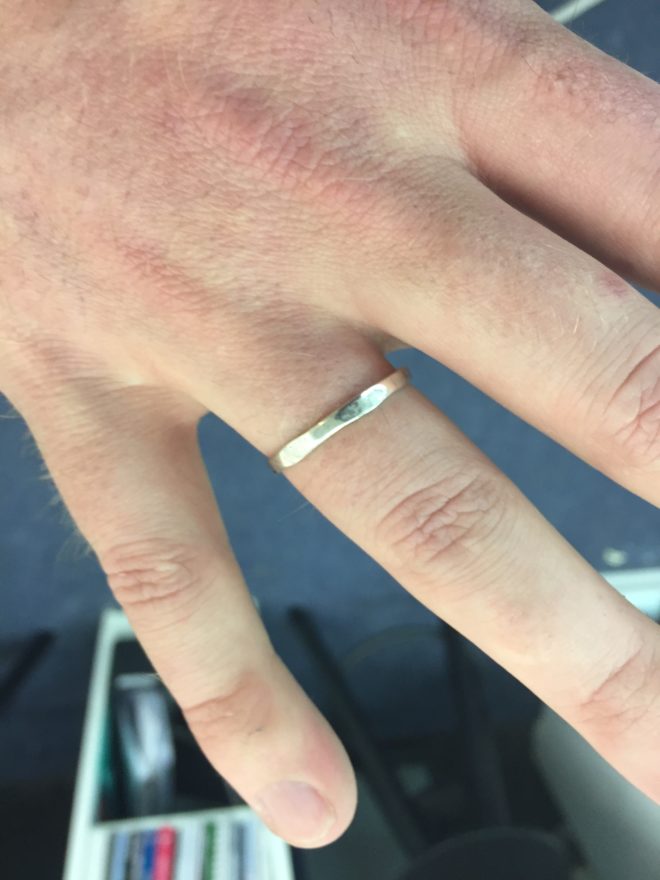
The Finished Rings
Here are our finished rings! I may not be a master ring maker just yet, but it was a really fun introduction to jewellery making. You each get to take away your own unique, handcrafted piece made in only a matter of hours, jewellery making is definitely something I’d do again.
Nottingham Jewellery School Launch & Workshop Details
So if you fancy getting creative and learning a new skill then head down this Saturday 6th May, 10-4pm, There will be live demonstrations by the tutors or you can even have a go yourself for £10 p/p for a 1-hour slot. Also available on the day: a pendant taster with Alys Power, a leather carving taster with Melody Unchained and Wedding ring consultations with Lunar Moth Jewellery.
Time slots: (Four places per taster per tutor)
10.30-11.30 (3 spaces pendants and 2 spaces leather left)
11.45-12.45 (3 spaces pendants and 2 spaces leather left)
1.30-2.30 (2 spaces pendant and 2 spaces leather left)
2.45-3.45 (4 spaces leather carving only, Pendants FULLY BOOKED)
Or if you can’t make their launch event, you can now book a place on one of the Nottingham Jewellery School’s new courses – suitable for all levels. From first timers like me to those more experienced who just want to learn a specific skill such as soldering, riveting, saw piercing, enamelling, beading and stone setting. The courses are six weeks long held on Wednesday mornings at 10 am til 12.30pm or Wednesday evenings from 6.30 pm til 9 pm at £140.00 for the block booking.
Parking is outside the gallery itself with on-street metres at £1 an hour or only £1 after 6 pm.
2 replies on “Focus Gallery Nottinghams Jewellery School Launch”
Great post 🙂 what a fun afternoon making rings and learning new skills.
Thanks Hayley, it was great meeting you too!